
Although fixingmycomputer.com makes every effort to provide the most complete & accurate information, you remain fully liable of your own actions. |
NEW: Computer Repair & Diagnostics Flowcharts.Simply follow the steps in the flowcharts to get a diagnostic and repair guidance.
|
Installing a CPU
|
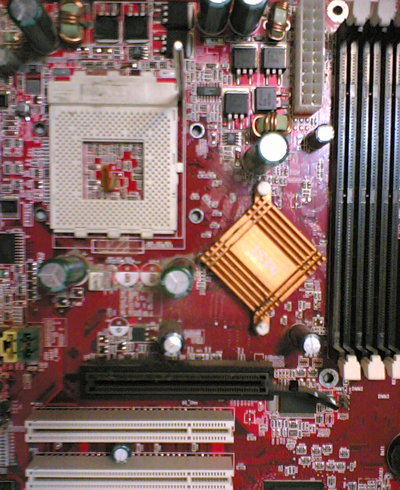
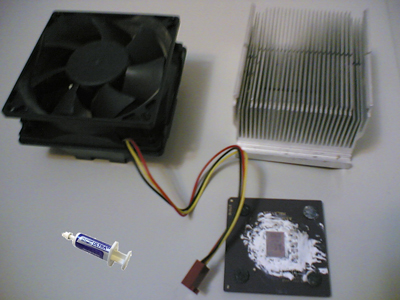
How to install a CPU on your motherboardOld CPUs have hundreds of small connectors tightly packed underneath it. So when manipulating your CPU make sure that you do not damage them (if one connector becomes out of line you most likely wont be able to mount it on your motherboard), also be careful about static electricity. Newer CPUs do not have connectors so you can relax and follow the procedure. Before you start, you should have your motherboard, a CPU, a heatsink, a fan and a small tube of Thermal Compound (for proper contact between CPU and heatsink).
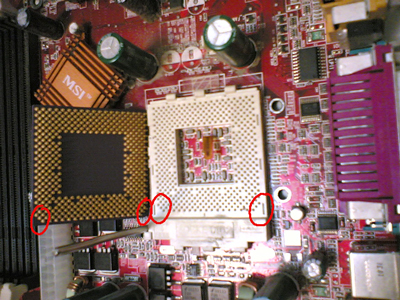
Take the cpu and fit it in the socket on the motherboard, but do not push if it does not fit, simply jiggle with it. Note that the CPU will only fit in one way, notice the few missing legs on the corner of the CPU.
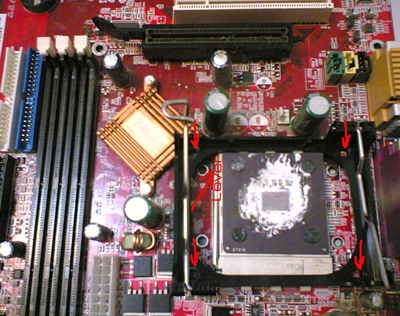
Once you have put the cpu in its socket, there is a lever that you must close to secure the cpu in its socket. At this time you should put the mount for the heatsink (if it was not there already. It is just a matter of putting four screws (note that on some model, there is a square plate behind the motherboard where the screws will fit)
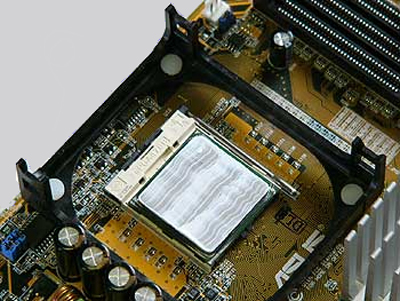
Now put as evenly as you can the Thermal Compound on the CPU. Do not put too much of the compound towards the edges as when you will put the heatsink on the CPU, the thermal paste will even out and leak out from the edges.
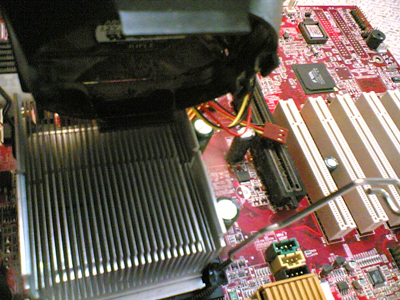
Now put the heatsink on the mount. If you press hard enough, you should feel the heatsink dispersing evenly the thermal compound on the CPU. At this point, you should secure the heatsink with the mount locking mechanism. The CPU fan sits right on to of the heat sink. There are different mechanism to fix it to the heat sink but usually it is very straight forward.
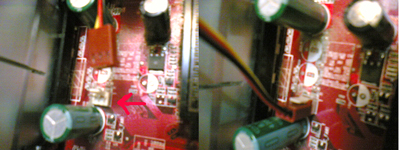
The last step is to connect the fan's power connector to the motherboard. Usually the connector on the motherboard is close by (you can't miss it, but you can still check your motherboard user guide).
|
|

